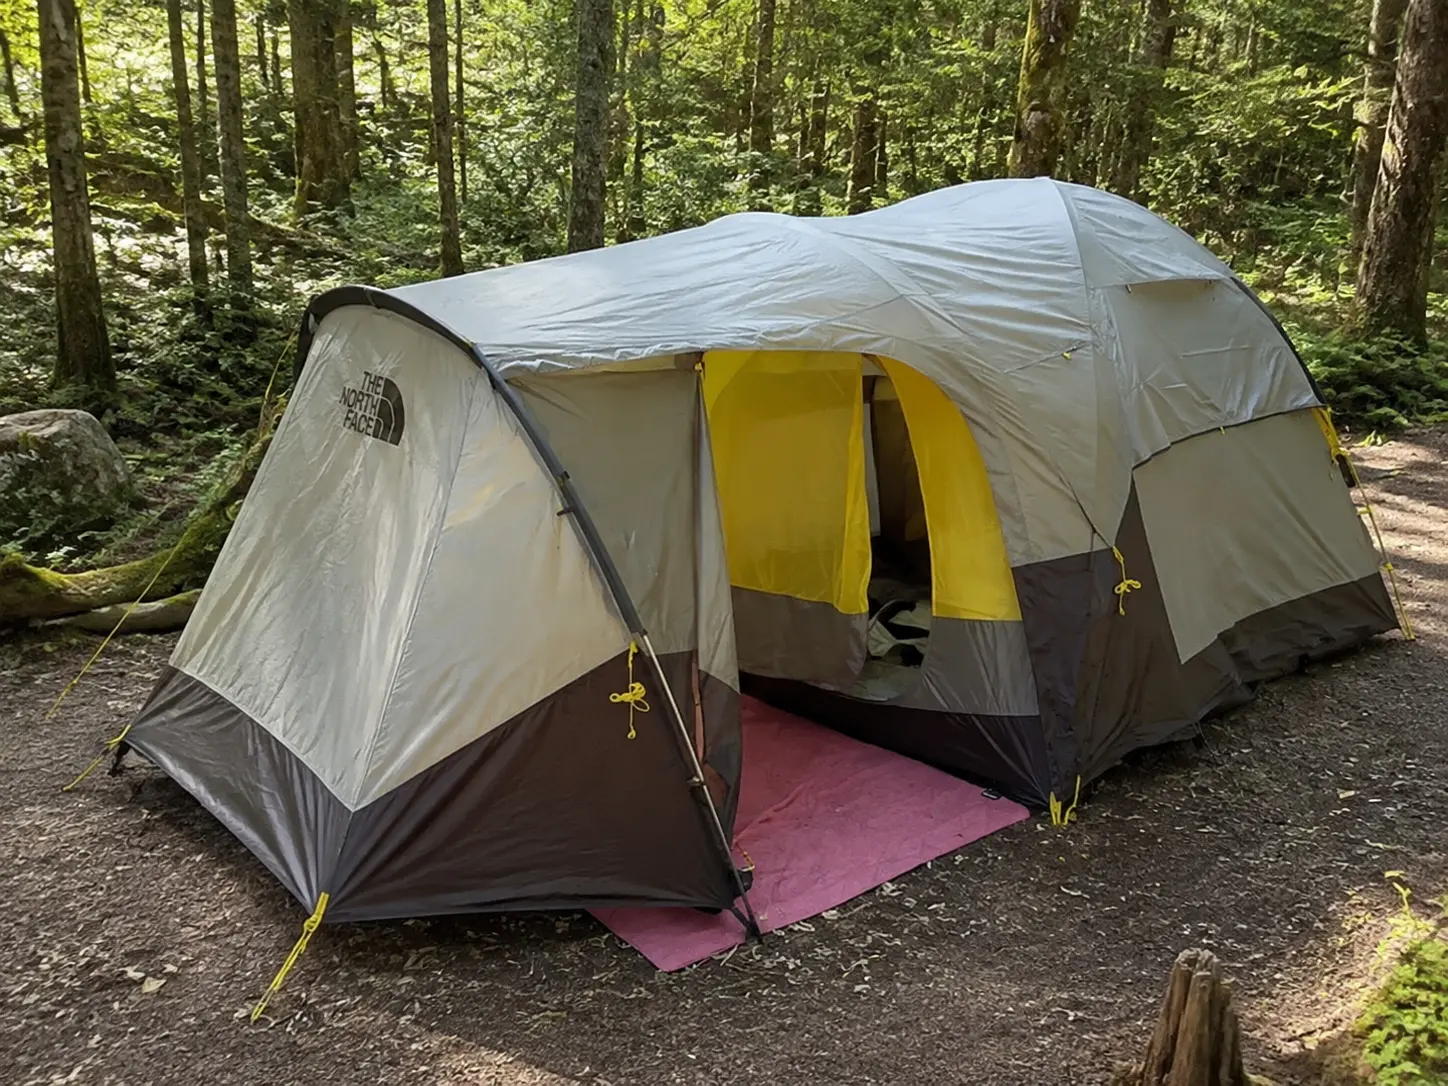
A torn tent on the side of a mountain is more than just a nuisance. It can derail your entire summit attempt. When the wind howls and the temperature drops, your tent is your last defence against the elements. For mountaineers in remote or high-altitude areas, the difference between a functional shelter and a failed one is the difference between reaching the peak or turning back. This guide arms you with field-tested, practical advice to keep your tent in one piece and your summit dreams alive, even after a tear.
How to fix tent tears quickly with minimal gear
The mountains are unforgiving. It does not matter if your tent is brand new or has served you on multiple expeditions. A sharp rock, a crampon slip, or a sudden gust can damage your shelter when you least expect it. The fix needs to be fast, effective, and field-ready.
What to carry in your repair kit for emergencies
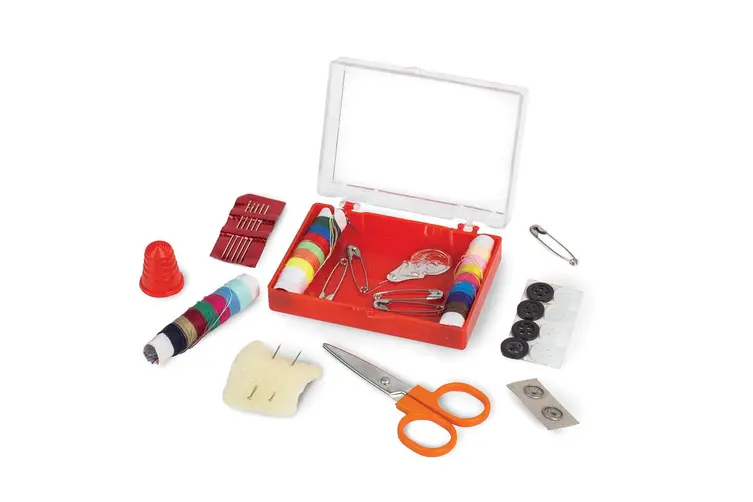
Every mountaineer should carry a compact but comprehensive repair kit. At minimum, your kit should include ripstop repair tape, alcohol wipes, a needle and thread, seam sealer, safety pins, and scissors. Lightweight pre-cut fabric patches made from compatible materials such as silnylon or polyester are also a smart inclusion. If your tent features silicone-coated fabric, standard adhesive patches will not stick well, so it is essential to carry appropriate repair tape like Tenacious Tape designed for silnylon.
Some mountaineers also include a small tube of fast-drying adhesive and extra guy lines in case attachments need reinforcing. All of this should be stored in a waterproof pouch that lives inside your tent bag or outer pack pocket for easy access.
Using ripstop patches and adhesive sealants effectively
Begin by cleaning the area around the tear with an alcohol wipe. This removes dirt, oils, and moisture, giving your patch the best chance to bond. For small punctures or linear tears, ripstop tape or pre-cut patches work best. Centre the patch over the tear and apply it evenly, pressing from the middle outward to avoid air bubbles. If the adhesive struggles in cold conditions, warm it briefly with your hands or body heat.
For longer tears or stress points near zippers and seams, combine stitching with patching. A few basic stitches with strong thread will hold the fabric together long enough for the patch to add long-term durability. Seam sealer applied over the stitching can then weatherproof the area.
When to patch, tape, or sew based on the tear type
Understanding the type of damage helps you choose the right repair method. Clean punctures from sharp objects are perfect for adhesive patches. Linear tears under ten centimetres can often be fixed with a single piece of ripstop tape. For larger or jagged tears, sew first then tape over. Rips near structural areas like corners or pole sleeves may need reinforcement from both sides. Whenever possible, perform repairs from inside the tent to shield the adhesive from wind and moisture during the bonding phase.
Don’t Let a Tear Derail Your Climb
Even the smallest tear can snowball into a serious problem at elevation. In Australia in 2023–24, there were 1,824,454 emergency department presentations and 575,345 hospitalisations due to injury, underscoring how common injury events are even among active and outdoor populations. A vulnerable tent puts your gear, safety, and schedule at risk. Addressing damage in the field is not just good practice, it is mission critical.
The real risk of ignoring small fabric failures
In alpine environments, weather can change in minutes. A tear that seems minor during fair weather can rip wide open in strong winds or saturate your sleeping gear when rain rolls in. These failures do not just damage your equipment, they affect your ability to rest, stay warm, and remain focused.
Compromised tents can also affect group morale. Nothing undermines confidence like shivering through the night because one tent wall flaps open or a floor leak drenches your insulation. By handling small issues immediately, you prevent bigger ones from forming. You also demonstrate the kind of preparedness and leadership that matters in high-risk environments.
Stories from climbers who salvaged their trip with on-the-spot fixes
Many experienced mountaineers have tales of rapid tent repairs that saved their summit attempt. One Australian team ascending Mount Bogong encountered gale-force winds that split a side panel during their second night. Using pre-cut patches and duct tape, they secured the tear well enough to weather the rest of the storm. They completed their summit the following morning.
Another climber on the Overland Track in Tasmania used a combination of safety pins and gaffer tape to close a gaping seam when their tent pole snapped and tore through the sleeve. The patch held for three more days until they exited the trail. Their quick fix prevented gear from becoming soaked and protected their down sleeping bag from irreversible damage.
How a well-prepped kit prevents cold, wet, or collapsed shelters
The most important thing a repair kit offers is not the gear itself but the ability to act. With a repair kit ready, you are not forced into makeshift solutions. You can address problems before they get worse. Proper sealing prevents water intrusion. Reinforced seams prevent structure collapse. And being able to adapt on the fly ensures your shelter remains a functional base no matter the conditions outside.
Rip, Patch, Repeat: Repair Techniques You Can Master
Being handy with a needle and patch tape does not require trade-level skill. It requires practice and understanding of key methods that work when conditions are rough.
Fastest way to use a ripstop patch in cold, windy conditions
When the wind is howling, setting up a repair can be tricky. Your best bet is to do the work inside the tent if the tear is accessible. If not, have a partner help block the wind while you clean and apply the patch. Keep adhesive patches close to your body for warmth before use. This makes them more pliable and helps the glue activate faster. Apply the patch firmly for at least 60 seconds. If the tear is long, use multiple patches, overlapping them like shingles for better protection.
Stitching methods that hold in rugged terrain
Basic stitches like the backstitch offer good strength and flexibility. Use thick thread, ideally nylon or polyester, to handle fabric stress. Begin stitching half a centimetre from the edge of the tear, keeping your spacing tight. Once done, apply seam sealer over the stitches to weatherproof. Avoid using cotton thread or making stitches too tight, as this can cause puckering and weaken the fabric further. Practising on scrap fabric at home makes a big difference when you are repairing under pressure.
Sealing seams and weatherproofing on the fly
After sewing or patching, the next step is sealing. Liquid seam sealer comes in a small bottle and can be applied directly along stitched lines. Let it dry fully if conditions allow. In wet conditions, blot the area as dry as possible before sealing. For temporary fixes, a strip of adhesive tape can work as a weather barrier, but always plan to re-seal properly after the trip. Never skip sealing if the repair is in a high-stress or high-moisture zone like tent floors, zippers, or pole inserts.
Prep Now, Push Later: Build Your Summit-Ready Repair Kit
Every second counts when gear fails at high altitude. Having the right tools already packed can mean the difference between patching a problem and abandoning your ascent.
Essential items for a compact alpine repair kit
Your kit should cover fabric, structure, and waterproofing. Key items include:
- Ripstop repair tape for fast adhesive fixes
- Seam sealer for long-lasting waterproofing
- Needle and strong thread for structural repairs
- Pre-cut fabric patches matched to your tent’s material
- Small scissors or a cutting blade
- Alcohol wipes for cleaning surfaces
- Safety pins for temporary holds
- Extra guy lines or cord
Pack everything into a resealable waterproof bag. Make it part of your routine to check this kit before every trip, just like you would your stove or boots.
Lightweight multi-use gear worth carrying
Multi-use items reduce pack weight without compromising readiness. Duct tape wrapped around a trekking pole or water bottle can double as repair tape. A multitool with scissors, blade, and awl adds sewing and trimming capability. Cord can be used for guy lines, pole splints, or lashings. Even a small candle stub can help dry a repair surface or warm an adhesive in the cold.
Pre-trip tent inspection: how to spot future failures
Before heading into the mountains, pitch your tent at home and inspect it carefully. Look for stress marks around pole sleeves and door seams. Check guy line tension points for fraying. Test all zippers and seal seams if they look worn. Catching weaknesses early lets you reinforce them before they become problems. Apply a fresh layer of seam sealer to high-wear areas and consider pre-patching thin fabric zones as a precaution.
Fix Now or Fail Later: Mountaineers’ Most Asked Questions
Can I use duct tape in place of a ripstop patch?
Yes, but it is a temporary fix. Duct tape lacks long-term adhesion and waterproofing. Use it only until proper ripstop tape or a fabric patch can be applied.
How do I fix a tent in high wind or snow?
Stabilise the tent first. Work from inside if possible. Use adhesive patches warmed against your body. Avoid sewing outdoors in extreme cold unless absolutely necessary.
What is the best kit setup for emergency tent repair?
Ripstop tape, seam sealer, pre-cut patches, needle and thread, scissors, alcohol wipes, safety pins, and spare cord in a waterproof pouch make up a complete alpine repair kit.
Ready, Set, Summit: Build Your Kit and Stay on Track
Tent damage should never be the reason you turn back from the summit. With a little preparation and the right tools, every mountaineer can take repairs into their own hands and stay safe on the trail. Your shelter is your sanctuary, and knowing how to fix it fast means you are never at the mercy of the mountain. Prepare your kit, practise your techniques, and push forward with confidence. The summit is still waiting.
Let Offtrack help you stay expedition-ready with the right tools and expert knowledge. Explore our tent repair essentials today and never let a tear slow you down.