Camping along the Great Ocean Road can be spectacular, but coastal conditions are less forgiving than those at a sheltered inland campground. Exposed sites, strong winds, damp air and fast-changing weather can quickly turn a basic setup into an uncomfortable one.
The best camping gear is not always the lightest, cheapest or most technical. It is the gear that suits your campsite, group size, transport method and expected conditions.
This guide covers the main equipment to consider for family holiday parks, exposed campgrounds and lighter walk-in trips.
What Makes Great Ocean Road Camping Different?
Coastal camping places more pressure on shelter, sleep systems and clothing than many standard campground weekends.
A site that feels calm during the afternoon may become colder and windier after sunset. Damp air can make bedding feel colder, while exposed ground can make a poorly secured tent difficult to manage.
Bureau of Meteorology climate records show that Cape Otway Lighthouse averages approximately 181 days of rain each year. For campers along the Great Ocean Road, this reinforces the value of waterproof shelter, protected bedding and reliable dry storage, even when the forecast appears relatively settled.
You do not need expedition equipment for every trip. You do need a setup that accounts for:
- Wind exposure
- Wet ground and rain
- Cool evenings
- Limited covered space
- The number of people using the campsite
- How far you need to carry your equipment
Check the weather forecast, campsite information and local travel advice before leaving. Conditions can vary significantly along the coast.
Choose Your Gear by Trip Type
Start by deciding what kind of camping trip you are planning.
| Trip type | Main priorities | Keep to a minimum |
| Family holiday park | Living space, warm bedding, camp chairs, covered shelter and water storage | Specialist lightweight equipment |
| Exposed campground | Stable shelter, strong anchoring, waterproof layers and dry storage | Tall or poorly secured shelters |
| Walk-in campsite | Low packed weight, compact shelter, insulated mat and layered clothing | Duplicate comfort equipment |
Family Holiday Park Camping
Family trips usually benefit from comfort, covered living space and simple campsite organisation.
Prioritise:
- A practical family tent
- A tarp or awning for extra shelter
- Warm sleeping bags
- Comfortable insulated mats
- Camp chairs
- Larger water containers
- Waterproof outer layers
- Lighting for shared campsite areas
Weight matters less when you can park close to the site, but the equipment should still be manageable to set up in poor weather.
Exposed Campground Weekends
Wind and rain protection should guide your decisions at more exposed campgrounds.
Prioritise:
- A stable tent with several guy-line points
- Strong poles
- A full-coverage fly
- Suitable pegs for the ground
- A compact tarp
- Warm, weather-appropriate sleep gear
- Waterproof clothing
- Dry storage for clothes and bedding
Avoid choosing a large tent purely for space. Taller shelters can catch more wind, especially when they are not secured properly.
Lightweight Walk-In Camping
For walk-in sites, every item needs to justify its packed weight.
Prioritise:
- A compact tent suited to the expected conditions
- A lightweight sleeping bag
- An insulated sleeping mat
- Layered clothing
- Personal water storage
- A head torch
- Dry bags or pack liners
Do not confuse lightweight with underprepared. A small weight saving is rarely worthwhile if it leaves you without reliable weather protection.
Choose a Tent That Can Handle Coastal Wind
Shelter is usually the most important part of a coastal camping setup.
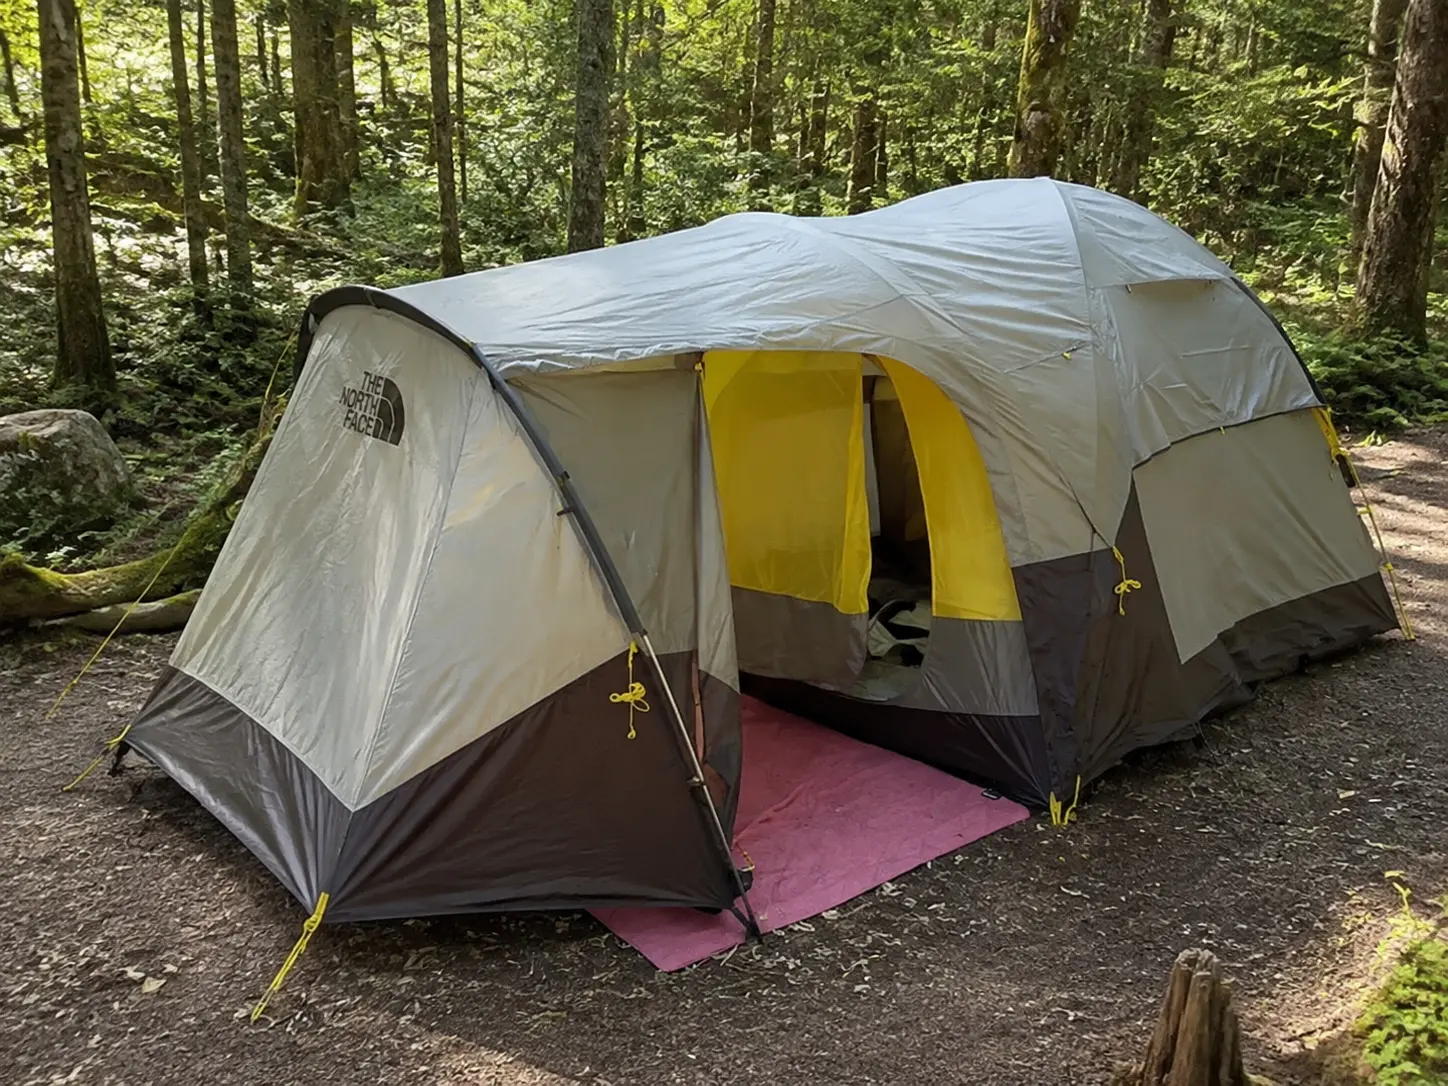
The right tent should suit the number of campers, but capacity is only one consideration. You should also assess its shape, pole structure, ventilation and wet-weather performance.
Tent Features to Prioritise
Look for:
- A lower or more streamlined profile
- A strong pole structure
- Multiple guy-line attachment points
- A full-coverage rainfly
- Good ventilation
- A durable floor
- Enough vestibule space for wet footwear and packs
- A practical setup process
A tent with good internal space can make family camping more comfortable, but bigger is not automatically better. Large shelters require more time, more space and more care in strong wind.
For lighter trips, compact tents are easier to carry and often easier to secure. However, they still need adequate weather protection and enough space to keep essential gear dry.
Use Every Guy Line in Windy Conditions
Guy lines help distribute wind pressure across the tent structure. Do not rely only on the corner pegs when the site is exposed.
Use the correct attachment points and keep the lines evenly tensioned. Check them again after the tent has been standing for a while, particularly if the ground is soft or wet.
Match the Pegs to the Campsite
Standard pegs may not suit every surface.
Depending on the campsite, you may need:
- Longer pegs for soft ground
- Broader pegs for sand
- Stronger pegs for compact soil
- A mallet for difficult ground
Carry a few spare pegs and check that none are bent before leaving home.
When a Tarp Improves the Campsite
A tarp can create a second weather-protected area outside the tent.
It may provide:
- A dry place to prepare food
- Covered storage for equipment
- Shelter for camp chairs
- A buffer between wet weather and the tent entrance
- Extra shade during settled conditions
For family trips, a tarp can make the campsite much easier to use when rain forces everyone under cover.
Keep the setup simple. A poorly positioned tarp can collect water or catch wind. Pitch it with enough slope for rain to run off and use strong anchor points.
Do not cook inside a closed tent or an enclosed shelter that is not designed for cooking.
Build a Warmer Sleep System
A sleeping bag alone does not create a complete sleep system. You also need insulation beneath you.
Cold ground can draw heat away from the body, even when the air temperature does not seem especially low.
Choose a Sleeping Bag by Comfort Rating
Check the sleeping bag’s stated comfort rating rather than relying only on a broad seasonal label.
Choose a bag that suits:
- The expected overnight temperature
- Whether you tend to sleep warm or cold
- The amount of clothing you plan to wear
- The shelter you will use
- The likelihood of damp or condensation
A bag rated too close to the predicted minimum may not provide enough comfort for a cold sleeper or a damp coastal night.
For family trips, pay close attention to children’s sleep gear because they can cool down quickly after they stop moving.
Use an Insulated Sleeping Mat
A thicker mattress is not always warmer. Insulation matters as much as cushioning.
When comparing sleeping mats, consider:
- Insulation or R-value
- Thickness
- Packed size
- Durability
- Inflation method
- Width and length
An insulated mat can reduce the need to carry several bulky blankets as backup bedding.
Keep Sleep Gear Dry
Use dry bags, waterproof tubs or sealed vehicle storage for sleeping bags and clothes.
Avoid leaving bedding pressed against the sides of the tent, where condensation may collect. Air the tent and sleeping bags when conditions allow.
A small repair kit is also worthwhile for inflatable mats.
Pack Clothing as a Layering System
Bringing more clothes does not always mean bringing the right clothes.
A simple layering system is usually more effective:
- A moisture-managing base layer
- A warm mid layer
- A windproof and waterproof outer layer
Add a beanie, gloves and dry socks for exposed evenings.
Cotton can remain damp for a long time, so it is not the best choice for every layer in cool or wet conditions. Quick-drying materials are more practical when the forecast is unsettled.
Keep one dry set of clothes reserved for camp or sleeping.
Plan Water Storage Before You Arrive
Do not assume water will be available or suitable for every purpose at every campsite.
Check the facilities before the trip and plan enough water for:
- Drinking
- Cooking
- Washing up
- Basic hygiene
- Unexpected delays
Water Drums for Vehicle-Based Camping
For families and groups, a central water container is often more practical than relying on several loose bottles.
A larger container can make cooking and general campsite use easier. Smaller personal bottles can still be used for walks and day trips.
Choose a container that is:
- Food-safe
- Easy to carry when full
- Simple to pour from
- Easy to clean
- Securely sealed
Several medium-sized containers may be easier to handle than one very large drum.
Water Storage for Walk-In Trips
For walk-in camping, balance capacity against weight.
Use bottles, soft flasks or hydration bladders that fit your pack and are easy to refill. Carry water-treatment equipment when the trip plan requires it, but do not assume natural water sources will be available or safe.
Add Campsite Comfort Where It Earns Its Place
Comfort items should make the campsite easier to use rather than simply add bulk.
Camp chairs are especially useful on damp or exposed sites because they keep campers off wet ground and provide a practical place to eat or sit under shelter.
Other useful items may include:
- A compact table
- A weather-resistant ground mat
- Lanterns
- Storage tubs
- A camp kitchen organiser
- A doormat or boot tray
For families, a small number of well-chosen comfort items can make a major difference when poor weather keeps everyone close to camp.
Keep Essential Equipment Dry and Organised
Separate your gear into clear groups from the moment you pack:
- Sleep equipment
- Clothing
- Food
- Cooking equipment
- Wet-weather gear
- First aid and safety equipment
- Lighting and power
- Toiletries
Use waterproof tubs, dry bags or pack liners for anything that must remain dry.
Store wet clothing separately from sleeping equipment. Keep jackets, head torches and footwear somewhere accessible so you do not need to unpack the whole car or tent when the weather changes.
Do Not Overlook Lighting, Power and Safety Gear
Coastal campsites can become dark quickly, particularly in winter or poor weather.
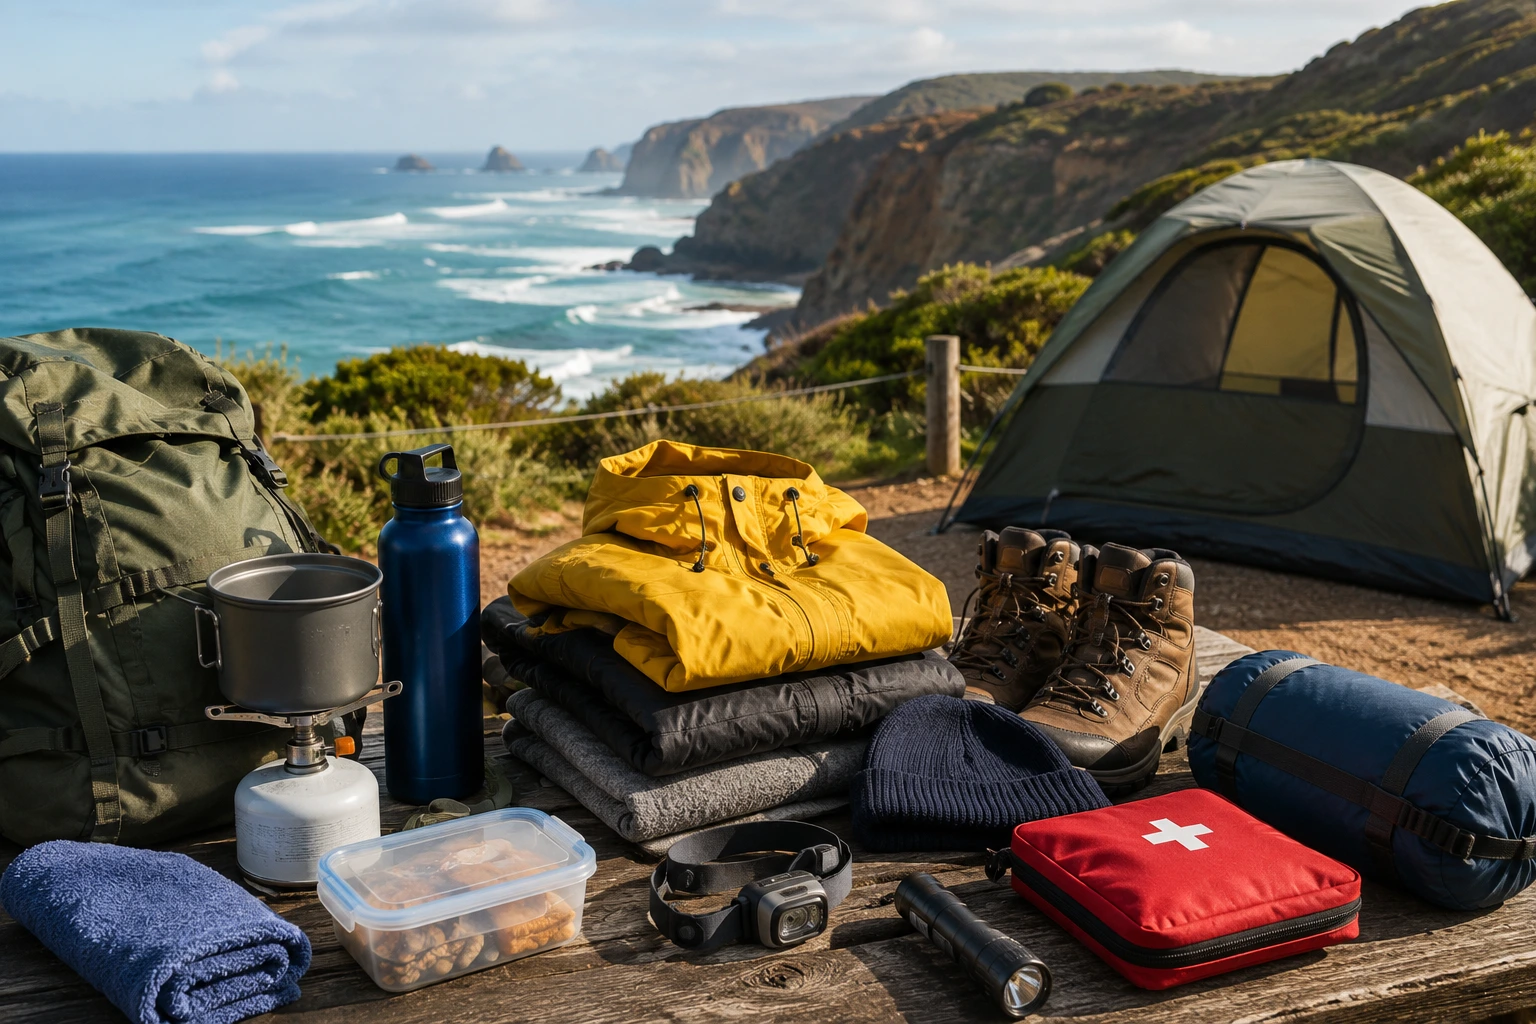
Pack:
- A head torch for each adult
- A campsite lantern
- Spare batteries or a power bank
- A first aid kit
- Personal medication
- A repair kit
- A charged phone
- Offline directions
- Emergency contact information
A head torch is more useful than a handheld torch for pitching tents, cooking or managing children after dark.
Great Ocean Road Camping Checklist
Shelter
- Tent suited to the group and expected conditions
- Full rainfly
- Guy lines
- Suitable pegs
- Spare pegs
- Groundsheet or footprint if required
- Tarp or awning
- Mallet
- Tent repair items
Sleep
- Sleeping bag with a suitable comfort rating
- Insulated sleeping mat
- Pillow
- Dry sleepwear
- Sleeping bag liner if useful
- Mat repair kit
- Waterproof storage
Clothing
- Base layers
- Warm mid layer
- Waterproof jacket
- Wind-resistant outer layer
- Beanie
- Gloves
- Dry socks
- Spare footwear
- Clothes reserved for sleeping
Campsite Equipment
- Camp chairs
- Table if required
- Lanterns and head torches
- Water containers
- Cooking equipment
- Food storage
- Rubbish bags
- Waterproof tubs or dry bags
Safety and Planning
- First aid kit
- Medication
- Weather forecast
- Campsite information
- Road and travel checks
- Emergency contacts
- Charged phone
- Power bank
- Offline map or directions
Build Your Setup Around the Conditions
For most Great Ocean Road camping trips, shelter should come first. Choose a tent that suits the campsite’s exposure, your group size and the distance you need to carry it.
Pair it with an appropriately rated sleeping bag and an insulated mat. Add waterproof clothing, dry storage and suitable water capacity before spending space on optional gadgets.
Vehicle-based family trips can justify extra covered space, camp furniture and larger water containers. Walk-in trips require a lighter setup, but weather protection should still take priority over cutting every possible gram.
Before leaving, check the forecast, campsite guidance and travel conditions for the specific area you plan to visit.
Browse Offtrack’s tents, tarps, sleep systems, water storage, waterproof clothing and camp furniture to build a setup around your trip. For more personalised advice, contact the team with your destination, group size and travel dates.