Tasmania can expose weak points in a camping setup quickly. A sleeping bag that feels comfortable on a mild mainland trip may struggle once cold ground, damp air and overnight frost enter the picture. A tent that works well at a sheltered summer campground may also become harder to manage in wind-driven rain.
Conditions vary considerably across the state. Coastal campgrounds, forest sites and exposed highland camps call for different equipment decisions. Tasmania Parks and Wildlife Service advises that conditions can change quickly, particularly in mountain areas, with snow, hail, rain, wind and sunshine possible throughout the year. Frost can also occur at any time of year in alpine and higher inland parts of Tasmania.
That does not mean every winter camper needs the heaviest sleeping bag, thickest jacket or strongest four-season tent available. The better approach is to build the setup around the actual trip.
At Offtrack, we consider the destination, campsite exposure, expected temperature, trip length and carrying method before narrowing the options. The aim is to find gear that suits the conditions without adding unnecessary weight, bulk or expense.
Tasmania’s Winter Conditions Change the Whole Gear System
Temperature is only one part of winter comfort.
Wind can strip warmth from exposed clothing and shelter surfaces. Rain can wet insulation, gloves and spare layers. Cold ground draws heat from the body throughout the night. Moisture from breathing and damp equipment can collect inside a tent and leave the sleep system clammy by morning.
These problems often overlap. A camper may have a suitably rated sleeping bag but still sleep cold because the mat underneath provides limited insulation. Another may carry a capable waterproof jacket yet become chilled after sweat dampens the layers beneath it.
Tasmania’s western region generally receives more winter rainfall than the north and east, although conditions vary by season and location. Exposed alpine areas can also experience rapid changes involving rain, snow and strong wind.
The campsite matters as much as the forecast. A sheltered, vehicle-accessible site allows more generous equipment choices. A remote walk-in camp requires closer control of weight, packed volume and redundancy.
| Part of the setup | What it needs to manage | What to check before the trip |
| Sleep system | Cold air and heat loss into the ground | Sleeping bag rating, mat insulation, dry sleep clothing |
| Shelter | Wind, rain and condensation | Fly coverage, pole strength, guy points, ventilation |
| Clothing | Cold, rain and changing activity levels | Base layer, insulation, waterproof shell, dry spare layers |
| Hand protection | Cold, wet gear and camp tasks | Dexterity, warmth and a protected dry backup pair |
| Lighting | Shorter winter daylight and night-time tasks | Headlamp, backup light and suitable power supply |
Start With the Sleep System
People often begin winter preparation by buying a heavier jacket. Overnight warmth usually depends more on the complete sleep system.
A sleeping bag, sleeping mat, dry base layer and shelter all contribute. Upgrading one item while ignoring the others can leave the same cold spots in place.
Choose a Sleeping Bag for the Lowest Likely Temperature
Sleeping bag selection should begin with the expected overnight conditions rather than the season printed on a packing list.
Bureau of Meteorology records for Liawenee in Tasmania’s Central Plateau show mean minimum temperatures below freezing throughout winter, including −1.0°C in June, −1.6°C in July and −1.2°C in August. Liawenee also averages around 18 to 20 days each winter month with minimum temperatures of 0°C or below, showing why elevation and expected overnight lows deserve close attention when preparing for highland camps.
Look at the temperature rating supplied under the relevant testing standard, then consider how you personally sleep. Some people naturally sleep warmer than others. Fatigue, food intake, damp clothing, wind exposure and bag fit can also affect comfort.
A close-fitting mummy-style bag generally retains heat more efficiently than a large rectangular bag because there is less internal air for the body to warm. Extra space may feel comfortable, but it can reduce thermal efficiency in cold conditions.
Insulation type creates another trade-off.
Down sleeping bags usually offer strong warmth for their weight and compress into a smaller packed size. They suit campers who need to control pack weight and can protect the bag from moisture.
Synthetic insulation is often bulkier for an equivalent warmth level, but it can be a practical choice for damp environments, group use or trips where drying and moisture management are less predictable.
Neither insulation type is the automatic winner. The better choice depends on the environment, budget, carrying method and how effectively the bag can be kept dry.
The Sleeping Mat Protects You From the Ground
A warm sleeping bag insulates above and around the body. The insulation beneath you becomes compressed, reducing its ability to hold warm air. The sleeping mat therefore carries much of the responsibility for limiting heat loss into the ground.
This is why adding a warmer sleeping bag may not solve a cold-night problem.
An insulated air mat can provide a useful balance of warmth, comfort and low packed volume for hiking trips. A self-inflating mat may provide more structure and can be easier to live with on longer base camps. Closed-cell foam is simple and durable, although it may be less compact and comfortable depending on its thickness.
Some campers combine mats. A foam layer beneath an inflatable mat can add insulation, protect against punctures and provide a basic backup if the inflatable mat develops a leak.
Choose according to insulation, durability, repair options, surface conditions and packed size rather than comfort alone.
A Winter Tent Must Handle Weather and Moisture
The phrase “winter tent” often leads directly to four-season models. That may be appropriate for exposed camps, alpine conditions and trips where snowfall or strong winds are credible possibilities.
For other trips, it can mean carrying more tent than necessary.
Four-Season Tents Suit Higher Exposure
Four-season tents are generally built around greater structural strength, stronger pole arrangements and reduced reliance on large mesh panels. These features can help in severe wind and cold conditions. Some designs also manage snow loading more effectively than typical three-season shelters.
They can also be heavier, more expensive and less airy in mild weather. Reduced ventilation may increase condensation if the tent is closed tightly overnight.
A four-season tent makes more sense for exposed plateaus, alpine camps and trips with a realistic prospect of snow, severe wind or prolonged cold. It should still be judged by its actual specifications rather than the category label alone.
A Capable Three-Season Tent May Suit Sheltered Trips
A well-designed three-season tent can still be suitable for many lower-elevation or sheltered winter camps.
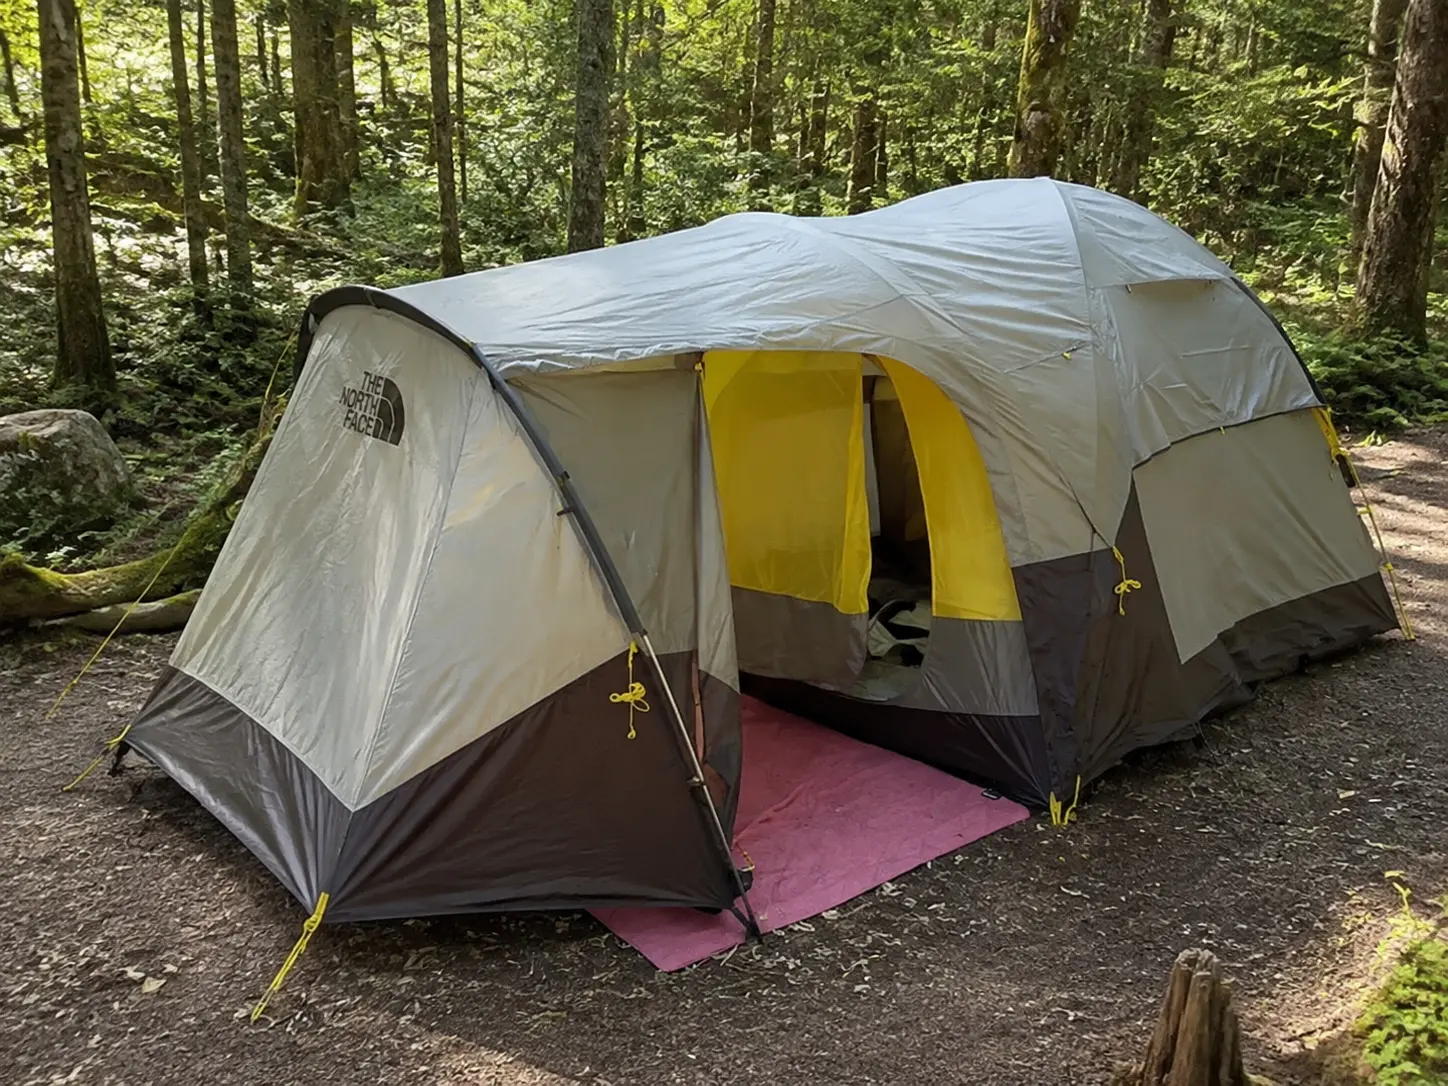
The decision depends on the forecast, campsite protection, tent condition, waterproofing, pole strength and ability to pitch it securely. A tent with a full-coverage fly, sound seams, reliable guy points and adequate ventilation may perform well at a protected campground during settled winter weather.
A vehicle-access campsite near a town presents a different level of exposure from a remote highland camp reached after several hours of walking.
Pitching skill matters too. A suitable tent can underperform if the fly is loose, guy lines are unused, drainage is poor or the entrance faces directly into the weather.
Condensation Can Undermine an Otherwise Warm Setup
Winter campers sometimes wake to water droplets inside the fly and assume the tent has leaked. Condensation is often the cause.
Warm, moist air from breathing moves towards colder tent fabric and forms moisture on the surface. Damp clothing, wet footwear, cooking nearby and limited airflow can add to the build-up.
Closing every vent may seem like the warmest option, but it can trap more moisture and create a colder, clammy shelter over time.
Use the tent’s upper and lower ventilation points where conditions allow. Keep the inner tent from pressing against the fly and avoid placing sleeping bags against damp walls. Isolate wet jackets and equipment from dry insulation wherever possible.
Campsite selection also affects moisture. Low depressions can collect cold air, while saturated ground can increase dampness around the shelter. A slightly raised, well-drained position with natural protection from wind is generally easier to manage.
A dry cloth or small absorbent towel can remove accumulated moisture in the morning and help prevent droplets transferring to sleeping bags and clothing during pack-up.
Waterproof Clothing Works as Part of a Layering System
A waterproof jacket provides the outer barrier. It cannot manage the full temperature range by itself.
A practical winter layering system gives each layer a separate job:
- The base layer moves moisture away from the skin.
- The insulating layer retains warmth.
- The outer shell limits exposure to wind and rain.
This allows campers to adjust clothing during movement, rest periods and changing weather.
A heavy insulated jacket worn during a steep climb can trap enough heat to cause sweating. Once movement stops, that moisture can cool against the skin. Several adjustable layers generally provide more control than one oversized garment.
Assess the Waterproof Jacket as Working Equipment
A winter shell should fit comfortably over the planned insulation without restricting shoulder movement. The hood should move with the head and provide useful coverage without blocking vision. Cuffs, hem adjustment and pocket placement can also affect performance during prolonged rain.
Ventilation deserves attention. Pit zips or other venting options can release heat during active travel while the jacket continues to provide weather protection.
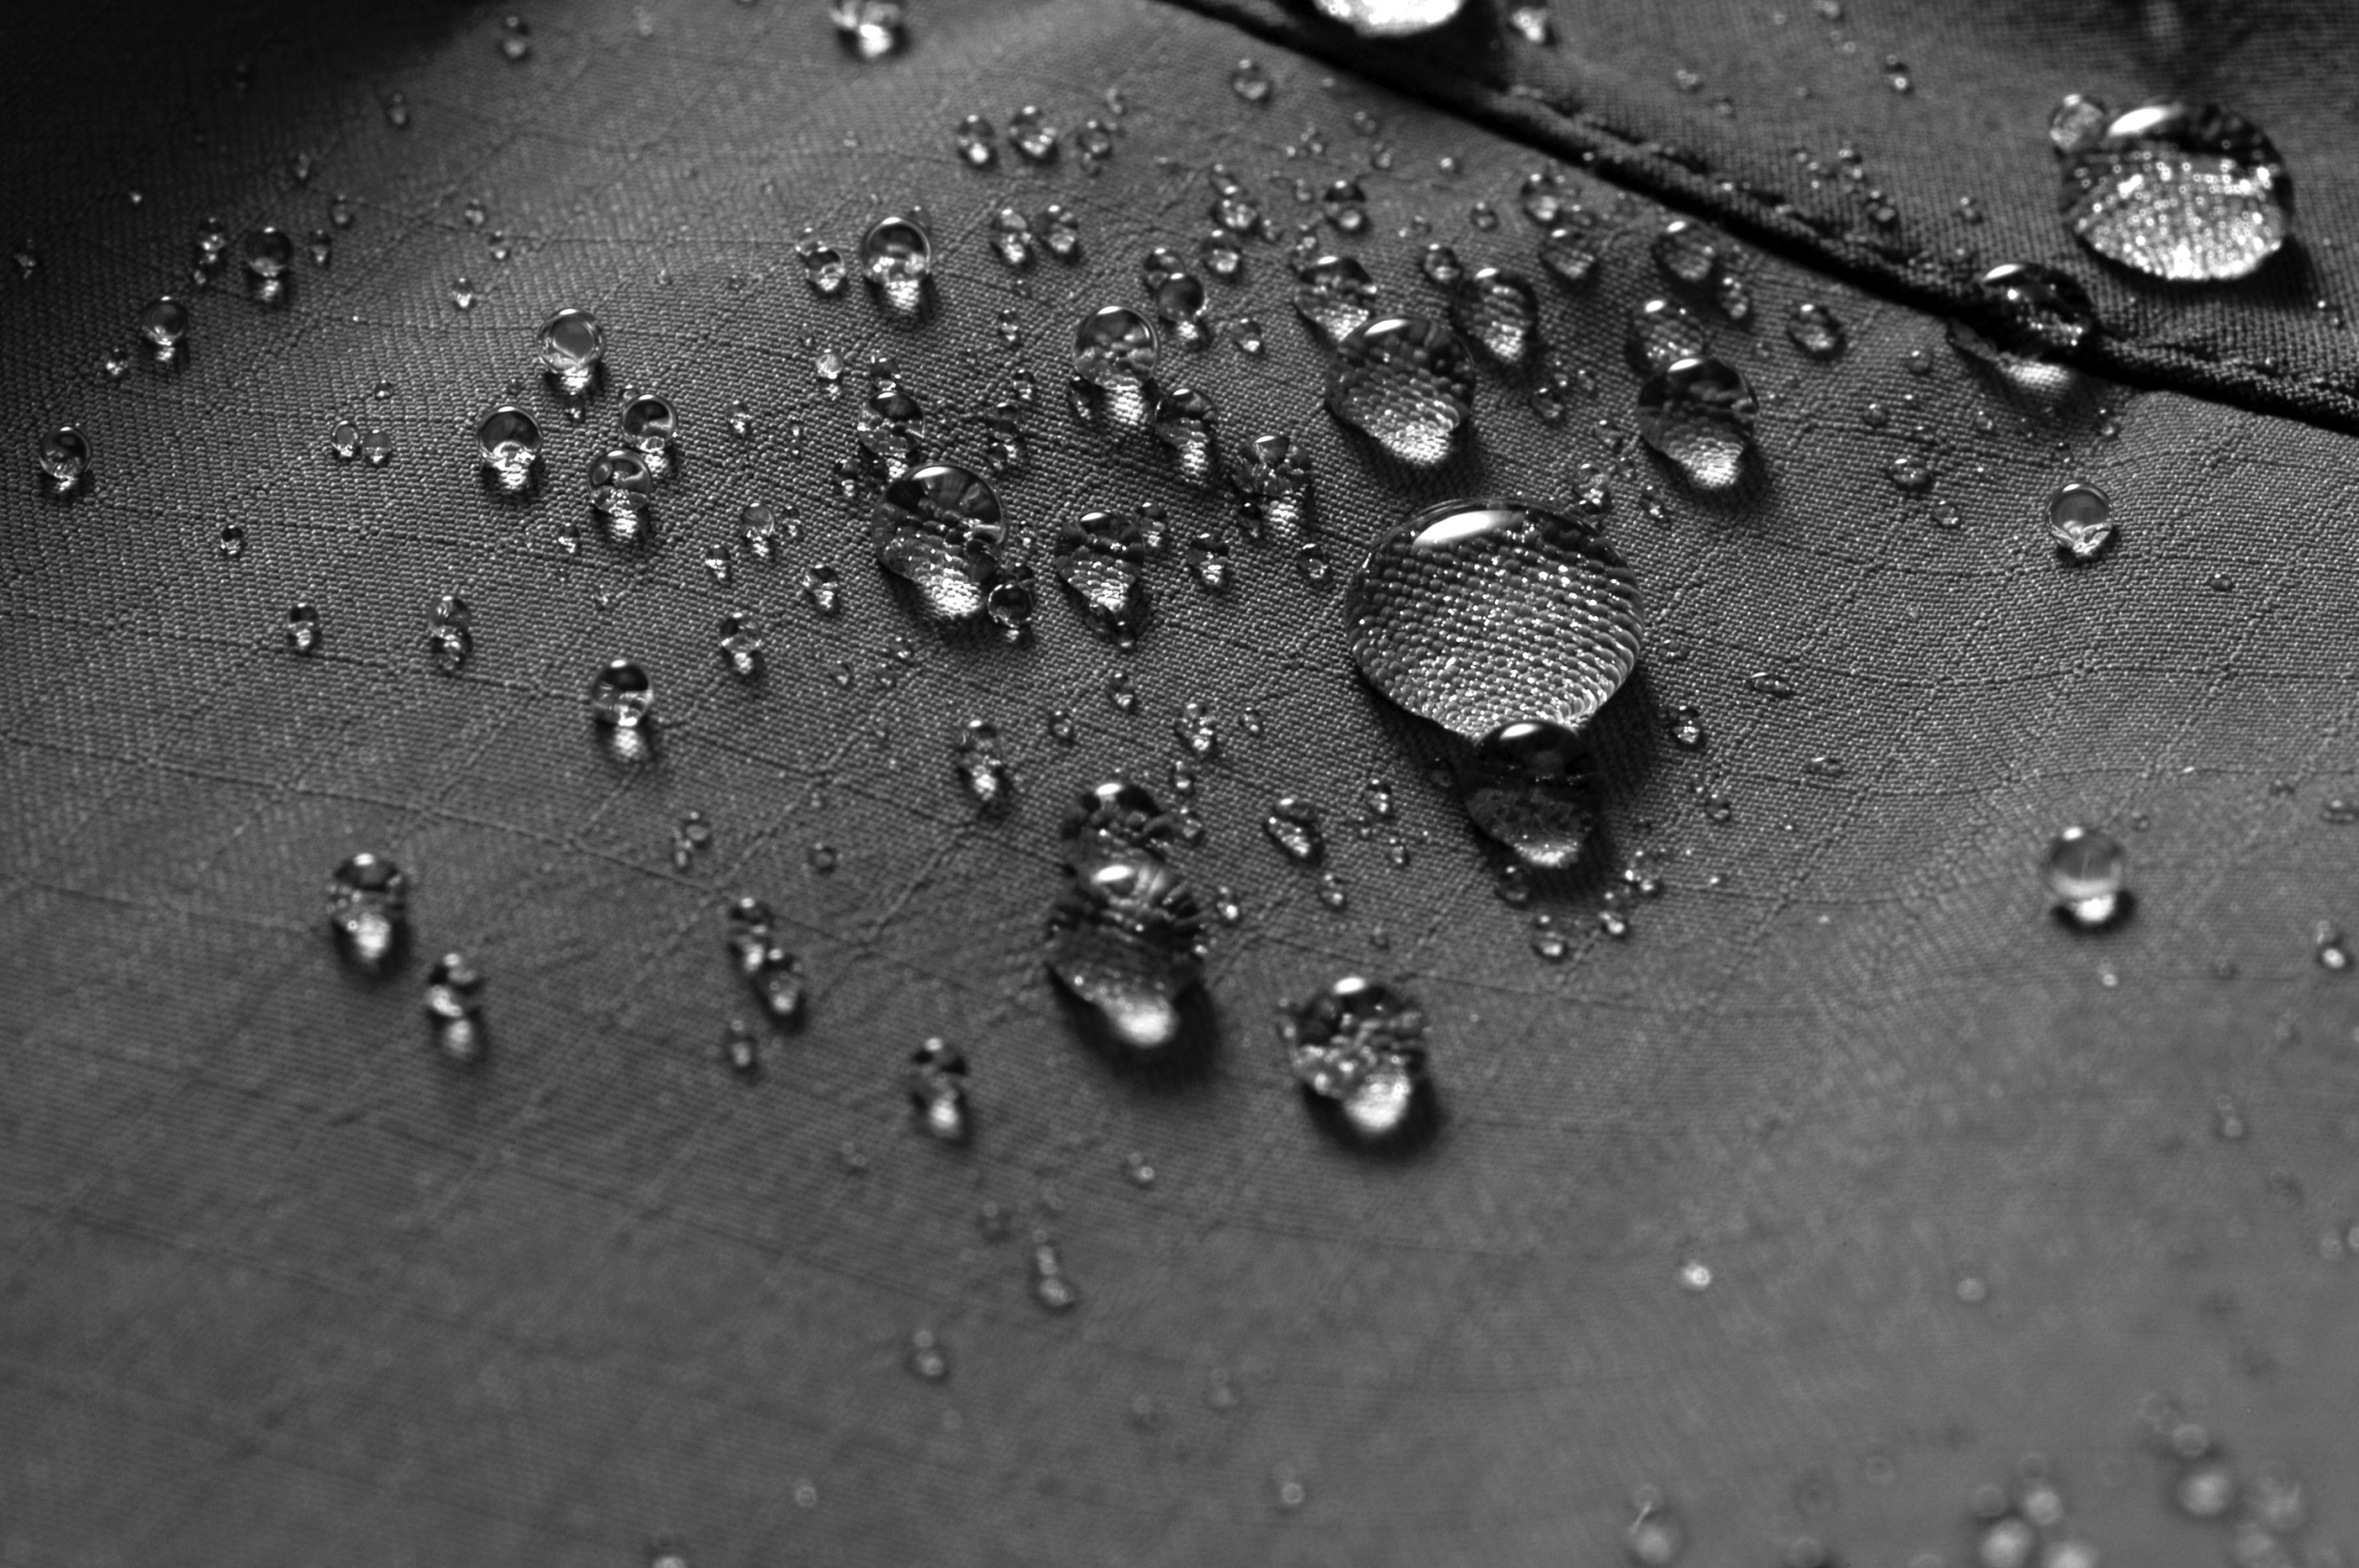
Check existing jackets before departure. Examine seam tape, zips, cuffs and the outer fabric. Clean or restore the water-repellent finish according to the manufacturer’s care instructions if water no longer beads effectively.
Waterproof overtrousers may also earn their place on wet or exposed trips. A dry upper body will not compensate for saturated trousers during a cold evening at camp.
Gloves Need Warmth, Dexterity and a Dry Backup
One thick pair of gloves can be awkward for tent poles, stove controls, buckles and zips. A light glove can preserve dexterity but provide limited protection once rain and wind increase.
A layered approach often works better.
A lighter pair can handle active walking and detailed camp tasks. A warmer or weather-resistant pair can be used during exposed conditions, low-activity periods and cold mornings.
Carry at least one dry pair in protected storage. Gloves often become wet while pitching a tent, handling damp guy lines or packing equipment. Losing hand warmth can make basic camp tasks slower and harder.
The backup pair does not need to be extravagant. It needs to stay dry.
Winter Lighting Needs a Second Line of Defence
Tasmanian winter trips provide fewer daylight hours for campsite tasks. Darkness may arrive while the tent is still being pitched, dinner is being prepared or wet equipment is being sorted.
Keep a headlamp easy to reach rather than buried near the bottom of the pack. Hands-free light is useful for guy lines, stove controls, first aid and moving around uneven ground.
Carry a second independent light source, such as a headlamp and backup torch.
Check battery condition before departure and understand how cold conditions affect the power system used by your device. Pack spare batteries or a suitable charging option according to the trip length.
A lantern can make a vehicle-based camp more comfortable, but it should not replace the personal light each camper carries.
Winter Pack Bulk Needs to Be Managed Across the Setup
Cold weather equipment takes more space. Sleeping bags are warmer, clothing layers multiply and spare dry items become harder to remove from the list.
Buying the smallest version of every product is not always the best answer. Highly compact gear may cost more, require more careful handling or provide less room and durability.
Start by separating warmth critical equipment from comfort equipment.
The sleep system, shelter, waterproof protection and dry clothing deserve first claim on pack space. Camp furniture, large cookware and duplicate convenience items can then be judged according to the carrying method and expected use.
A compression sack may reduce sleeping bag volume, but excessive compression during long-term storage can damage insulation. Compress the bag for transport, then store it uncompressed at home according to the manufacturer’s directions.
Pack liners and dry bags also help keep sleeping bags, base layers and spare gloves isolated from wet equipment. A tidy pack is easier to manage in rain because fewer items need to be exposed at once.
Vehicle-supported campers have more room to favour comfort and redundancy. Walk-in campers need closer control of every kilogram, although reducing weight at the expense of the sleep system or weather protection can be a poor trade.
Review the Full Setup Before Travelling
Before leaving, check how the important pieces of the setup work together.
Confirm:
- the forecast and likely overnight low
- campsite elevation and exposure
- sleeping bag rating and fit
- sleeping mat insulation and repair plan
- tent condition, guy lines and ventilation
- waterproof jacket and overtrousers where required
- base layers and insulating layers
- dry gloves, socks and camp clothing
- headlamp, backup light and power supply
- waterproof storage for the sleep system
- current park, track and campsite alerts
Tasmania Parks and Wildlife Service maintains current alerts for closures caused by hazards such as storm damage, flooding, fire and maintenance. Check the relevant park information again close to departure because access and conditions can change.
A backyard test pitch is also worthwhile. It confirms that every pole, peg and guy line is present and refreshes the pitching sequence before cold hands and rain make the job harder.
Build the Gear Around the Actual Trip
Tasmanian winter conditions can expose small weaknesses quickly. Before buying more gear, identify where your current setup is most vulnerable: overnight warmth, ground insulation, shelter, waterproofing, dry clothing or lighting.
The right upgrade depends on where you are camping, how exposed the site is, the temperatures you expect and whether you are carrying everything on foot or travelling by vehicle.
Offtrack can help you compare sleeping bags, mats, tents, waterproof clothing, thermals, gloves and lighting around the conditions you are actually likely to face.
Bring us your destination, travel dates and campsite style. We can help you identify the gaps and build a winter setup without adding unnecessary weight, bulk or expense.
Questions That Reveal Weak Points Before the First Cold Night
Do I Need a Four-Season Tent for Winter Camping in Tasmania?
A four-season tent may be appropriate for exposed, alpine or snow-prone locations. A capable three-season model may be suitable for sheltered, lower-elevation camps during settled conditions.
Assess the tent’s structure, fly coverage, guy points, ventilation and condition alongside the campsite and forecast.
How Warm Should My Sleeping Bag Be?
Use the expected overnight minimum as the starting point, then allow for personal cold sensitivity, bag fit and the insulation beneath you.
Read temperature ratings according to the manufacturer’s definitions rather than treating them as a universal comfort guarantee. Campers who sleep cold may need a greater buffer.
Is Down or Synthetic Insulation Better for Wet Conditions?
Synthetic insulation is often easier to manage where moisture exposure is likely, although it usually takes more pack space for comparable warmth.
Down offers a strong warmth-to-weight ratio and compact packing, provided it remains protected from moisture.
The better option depends on the trip conditions and how effectively the sleep system can be kept dry.
Can I Use My Regular Hiking Rain Jacket During Winter?
Possibly. Check its waterproof condition, hood coverage, ventilation and fit over the layers you plan to wear.
A jacket that becomes tight over insulation can restrict movement and compress the warm layer underneath.
Why Am I Cold Even Though My Sleeping Bag Has a Suitable Rating?
The sleeping mat may provide insufficient insulation from the ground. Damp clothing, an oversized bag, wind entering the shelter, hunger, fatigue and personal cold sensitivity can also contribute.
Review the complete sleep system before assuming the sleeping bag alone is the problem.
How Do I Reduce Condensation Without Making the Tent Colder?
Use the available vents, maintain space between the inner tent and fly, and keep wet equipment away from the sleep system.
Some cool airflow can produce a drier interior than a tightly sealed tent filled with moist air. Campsite drainage and shelter orientation also influence the result.
What Should I Upgrade First on a Limited Budget?
Start with the weakest part of the setup.
Poor ground insulation, an unsuitable sleeping bag and unreliable rain protection may deserve attention before comfort accessories. Reviewing what you already own can also prevent unnecessary upgrades and direct the budget towards the genuine gap.